

Hey mates!
Got some stuff I been working on for my Astral Claws.
Bases!
I have been pretty renowned for my insane basing projects, spamming out hundreds in just a single weekend like candy.
Wait hear me out!! I got proof!
Demorte's first basing after the infancy of learning to base and trying out different styles with my marines. I had 136 marines on 8 different styles of bases. This forced my OCD mentality to sit down on rebase my entire.. So I based 136 base over a weekend.
You now maybe saying " Oh, thats cute but I.... " Hold it mates!!
There is more to this addiction my friends...
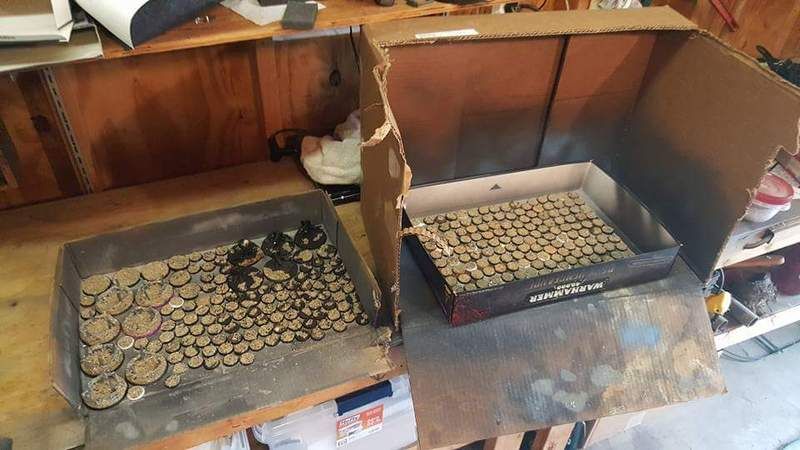
316 bases had a whole Saturday and Sunday off with wife out of town.
I played Guild Wars 2 PvP, ate junk and worked on bases the whole time. Also managed to get my honey do list done Friday evening before I got comfy.
Now that the scale of my craziness has been revealed here is what I am doing now for my bases!
I have kept my basing scheme the same, since I did the 136 basing session. All of my imperium faction forces Space Marines, Imperial Guard, Grey knights and Space Wolves are all on the same scheme.
The standard scheme is a dark brown, tan brown and light tan brown, with 3 colors of grey on the stones with Army Painter tuffs.
That is the factors or colors that are uniform across the board, what changes is the accessories and climate.
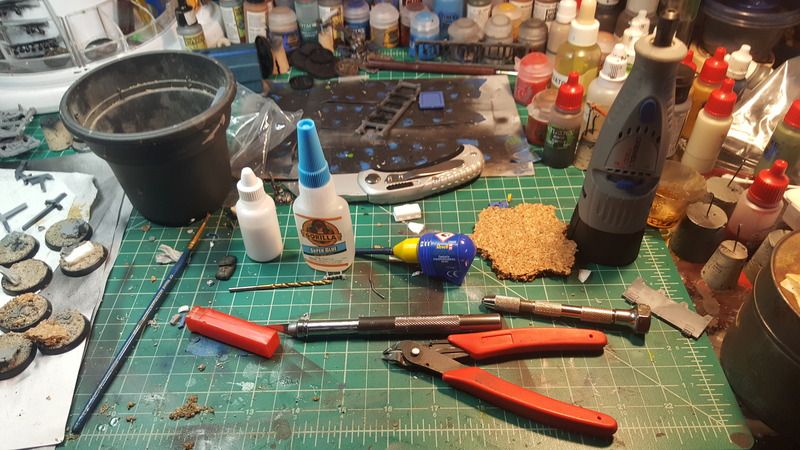
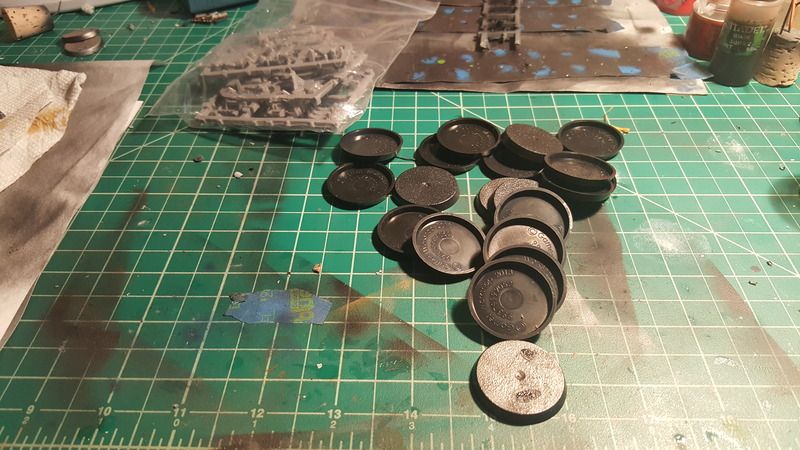
Make sure you have your tools to get the job done properly mates! Will make it much easier.
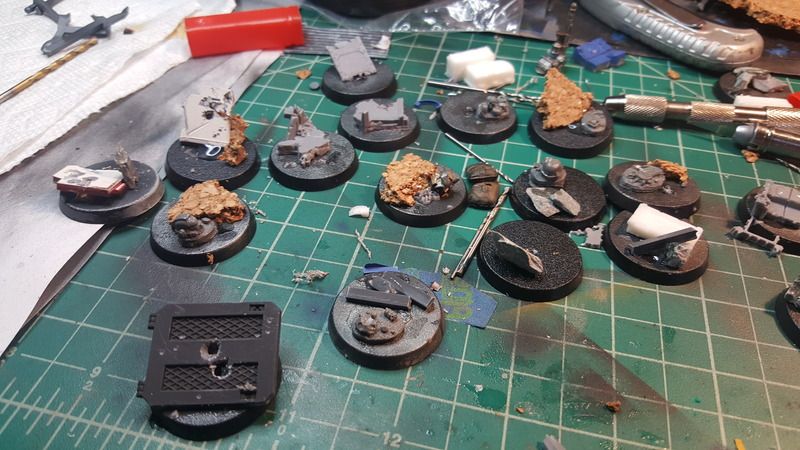
I always start with adding the rubble, battlefield bits etc.. Have managed to collect/horde alot of bits for basing over the last 11 months.
If you want your battlefield stuff to look more beat up, tossed around and damaged get happy with you sprue clippers and hobby knife.
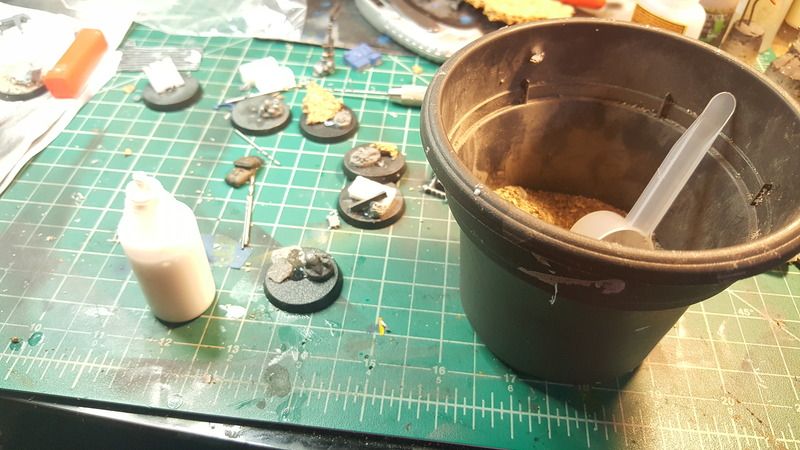
Once I get to this stage I use some PVA glue and get things sanded with me mash up of sand.
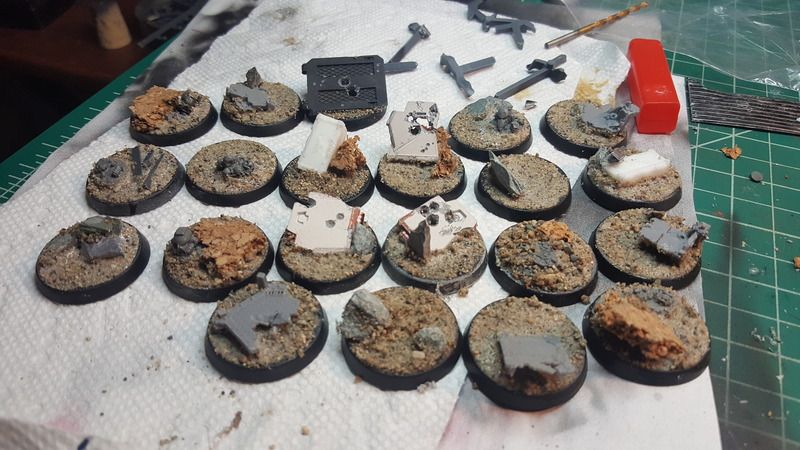
Beautiful sanded bases so clean, so innocent.
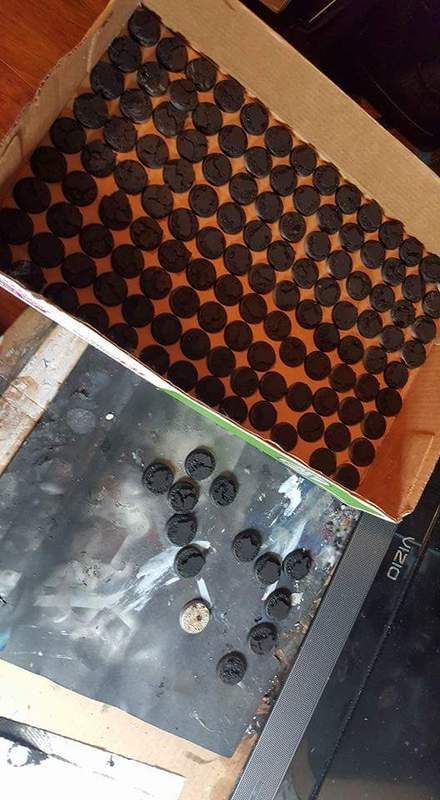
The next step is to prime with black, I use the air brush for this you can use air-sol sprays but they wont coat all the base properly. The airbrush allows you to really get into all the parts of the base, especially if using cork. You need to make sure after you prime the tops/sides of the base that you flip the base over and spray from that direction.
You will be surprised how much the cork absorbs primer and how many spots are protected from sprays.
Once primers dries I do the battlefield bits, particularly the larger bits, like the rhino parts and other metal debris.

I have used my airbrush to apply the dark brown " Dryad Bark " but I really prefer using a basing brush it is neater. Both work really great! I just alot of parts you may not want to over spray on to and have to fix.
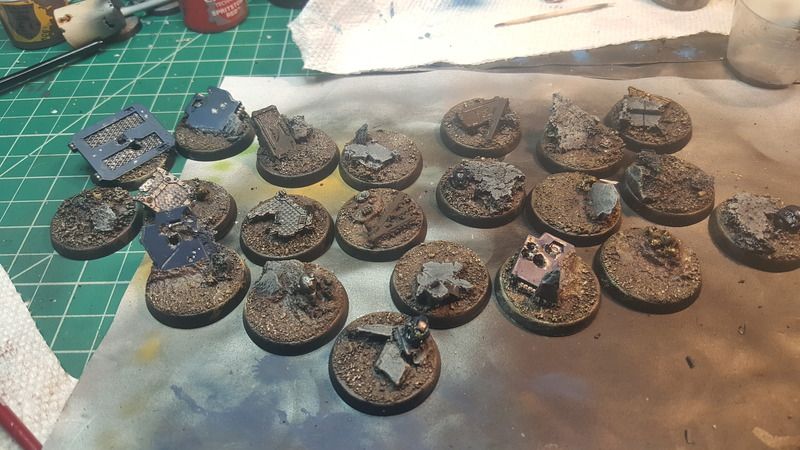
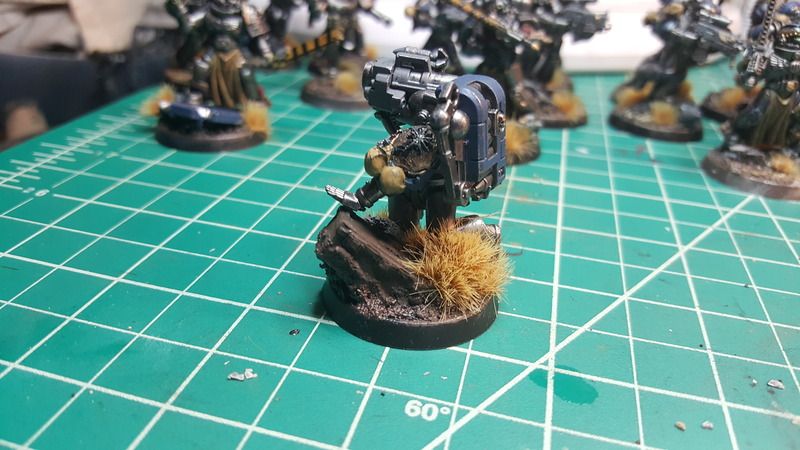
I then apply my different tones, you can use pretty much any 3 color series on this type of basing project. Just make sure each one is in the same color family like brown and that they are Dark medium and light.
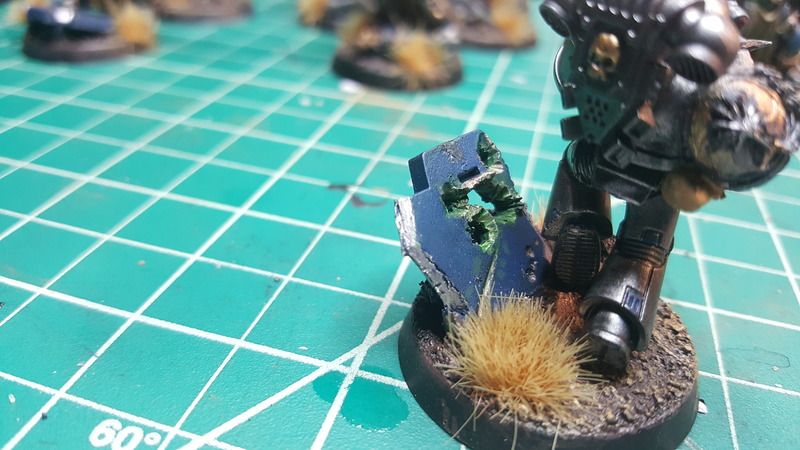
This a Tryanid acid effect that I put on the base, you really need to plan for this at the start of your basing. Will save you alot of time.
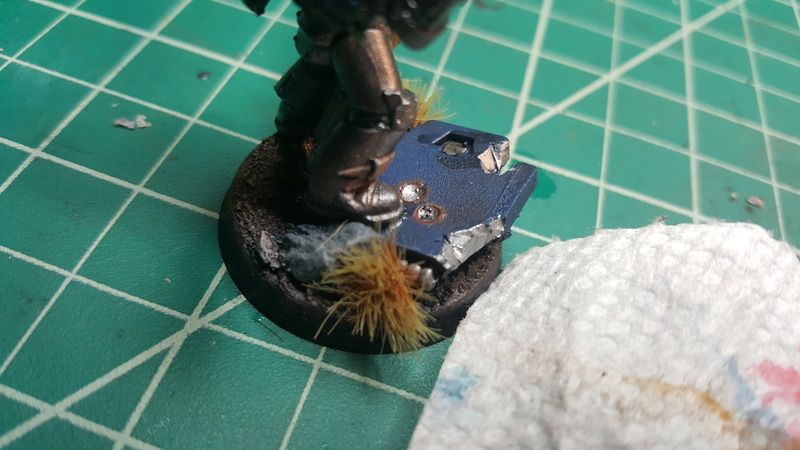
This is a AP effect I put on the plating as well.
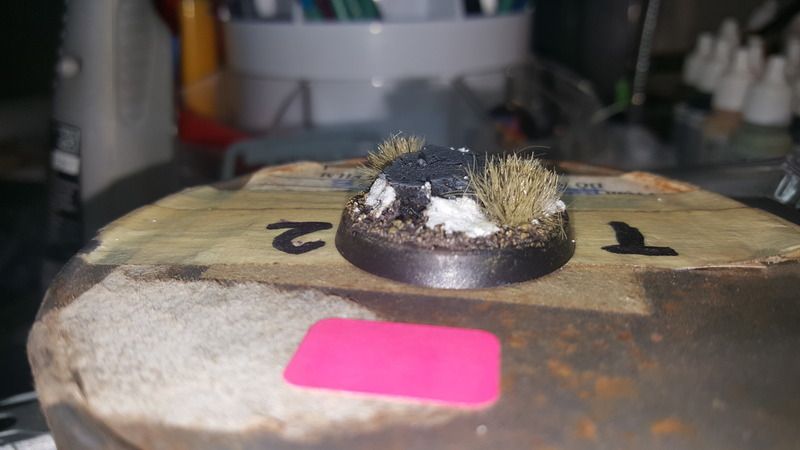
This is just a base with a winter effect on it.
This will be a really nice rusted chest, there really is alot of options for making each base unique and speak apart of a story.
One you start basing this way you see basin items all over the place.
No comments:
Post a Comment