
 Hello Mates!
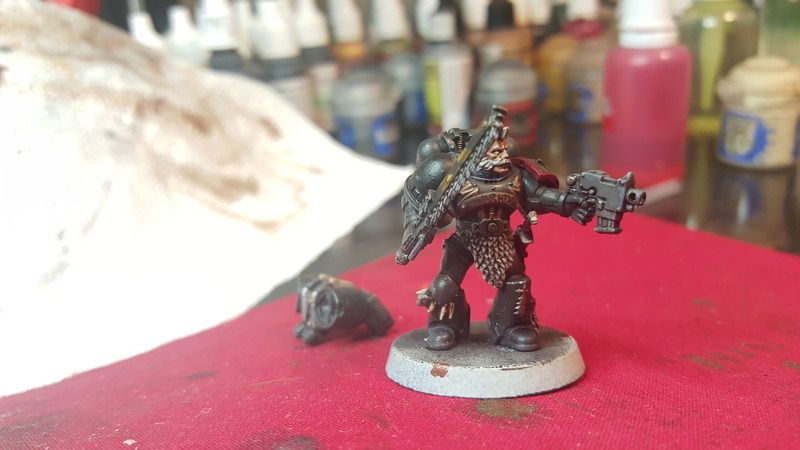
I tend to work on a bunch of different projects. I have lots of Imperium Factions. Plenty of Space Marines, and Guard to go around. Have always stayed to the Astral Claws Color Scheme. However have always liked Space Wolves, just hated there color scheme, was randomly browsing the web and came across a 30k space wolves model.
That got me more interested, cause the scheme is Dark Grey and Red. That is a color scheme I do very much enjoy the look of so I went through my bit box. Managed to find 15 chest plates for space wolves. About 5 legs for space wolves, on top of the other legs I have, and that pretty much made everything way easy. Also have 58 heads for space wolves... I horde bits what can i say, buy bags of them any chance I can.
Then my buddy Nick was playing a game with his new wolves force Tuesday, and I loved the difference in game play. I had faces wolves, and seen games being played with them before, but this game i paid alot more attention too. Also I spent 3 hours sitting there thumbing through the 7th ed wulfen book and space wolves codex. Managed to theorycraft 3 lists from it so Space Wolves may be my next force for the Imperium. Was gonna do grey knights, I even have a large force of them, but they just been nurfed to hardcore. So am selling the GKs " Keeping some " and gonna use the profit to likely get a new airbrush and some wolves.
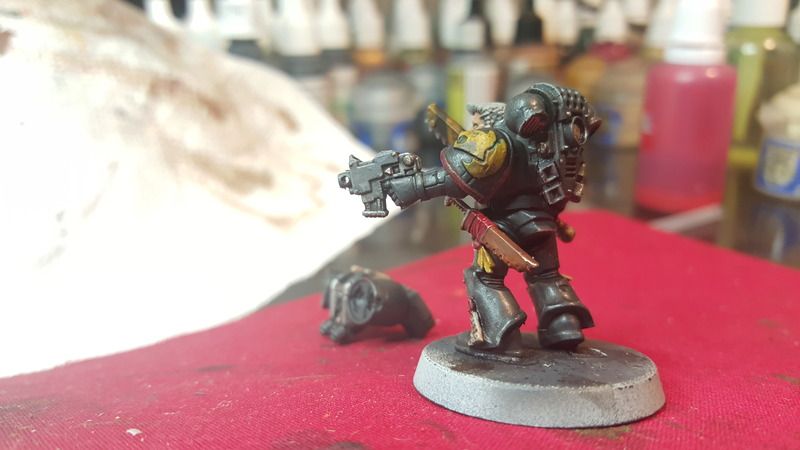
So Space Wolves, am sick right now was yesterday too. That gave me time to do a test model. :)
The Model!
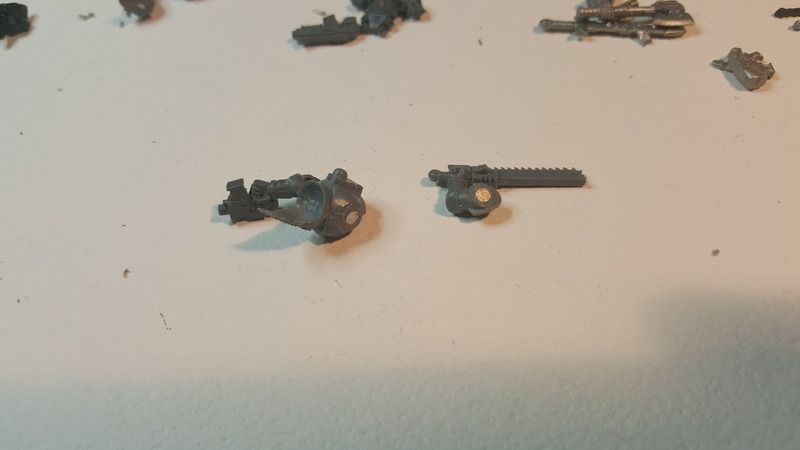
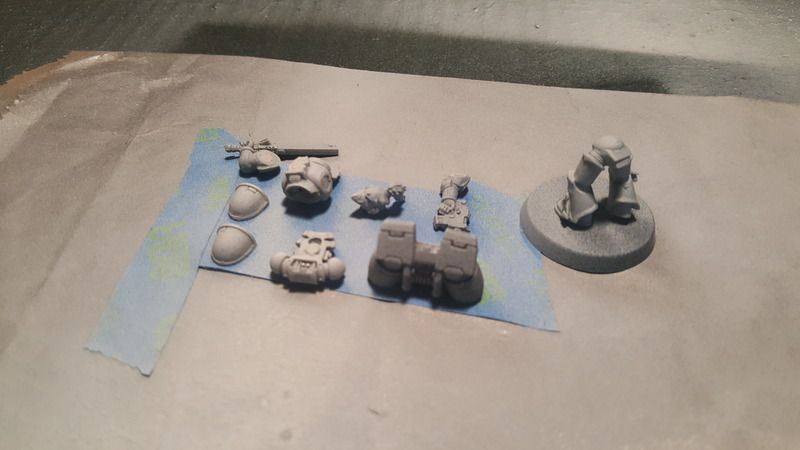
I started first by cleaning up the mold lines with a sharp hobby knife and sand paper sticks. Then I decided to Magnetize the Blood Claw, so he could be used as a Skyclaw. I magnetized the arms and back packs.
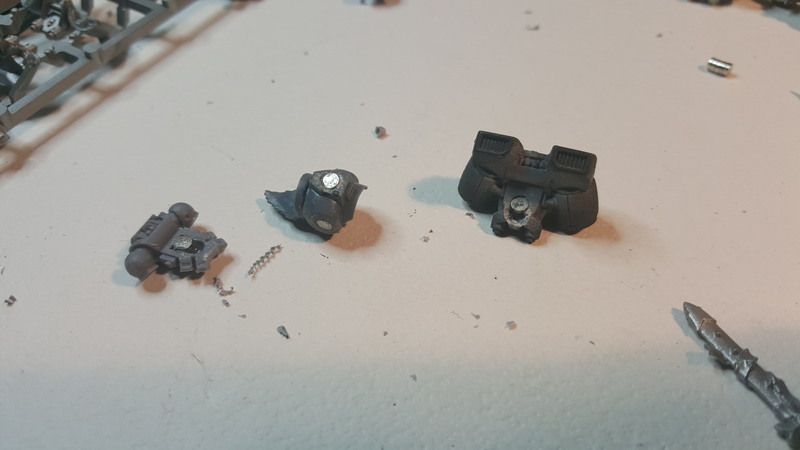
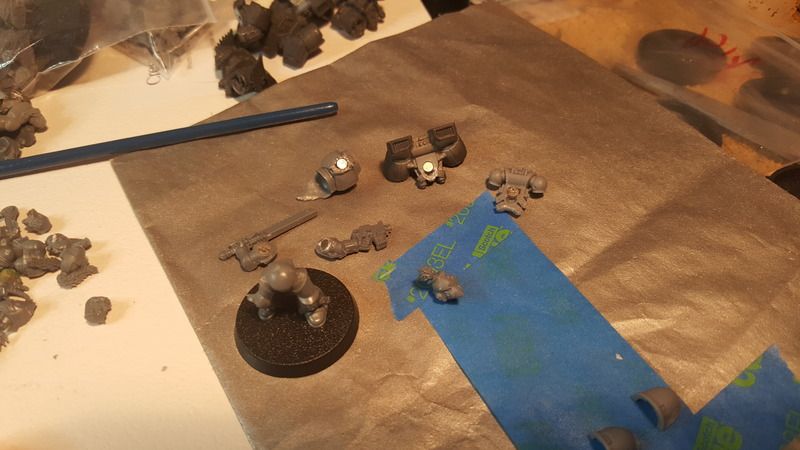
The magnets fitted quiet well, the big thing is just making sure everything lines up proper so they don't look weird. Make sure to look at the style of head you use as well. I ended up painting 3 heads up and then picking the one I liked best to use on the model. Is always easier to do multiple parts, replacement parts or little detail bits. At the start, in my experience, I like to have options and not have to go back and paint a single part cause the first one got lost, or doesn't fit properly etc...
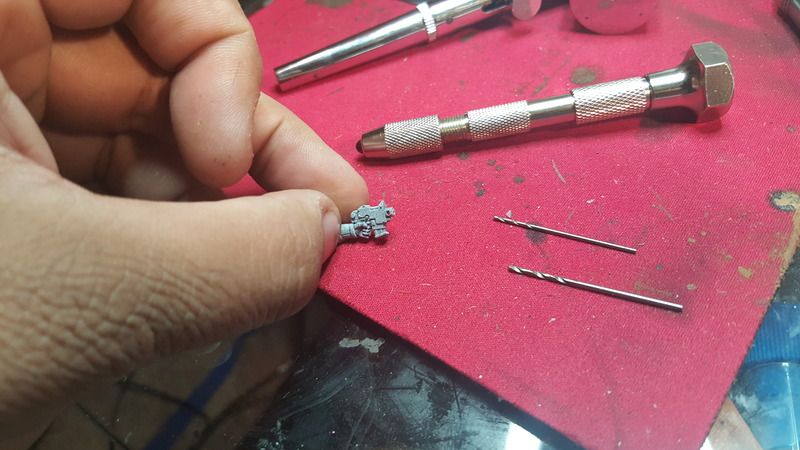
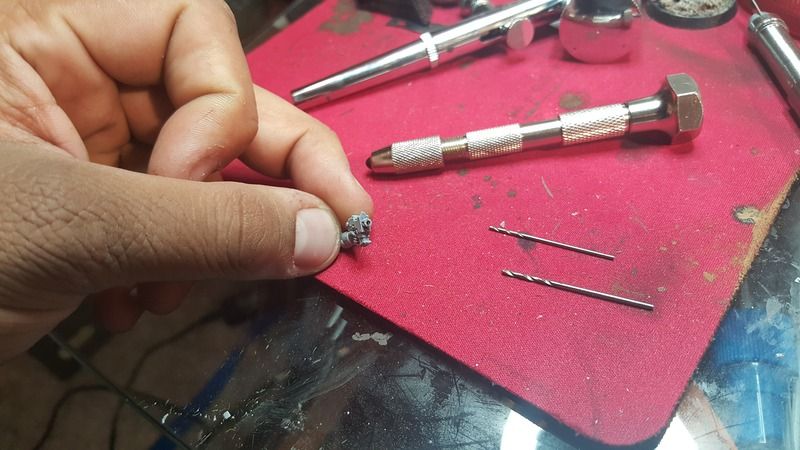
I also drilled the bolter out, using two different sized bits. Start small and then work you way up. I drilled out the exhaust hole as well with just the smallest bit.
So, I got so busy on this I pretty much didn't take any picture till I was close to done. XD

No comments:
Post a Comment