

Managed to get a few more hours in last night to publish some updates on my progress.
Lets get to how I got this far on the project.
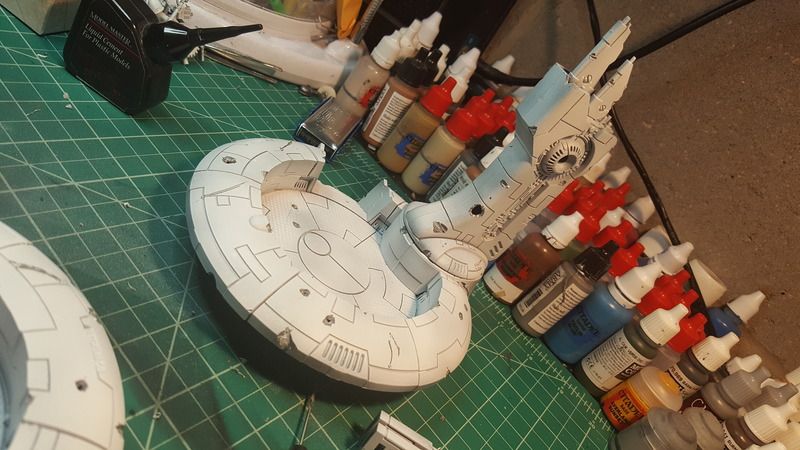
Once I got the two tide walls put together and primed. I really keep going back to the spare bits and wanting to make them useful as a terrain piece. So I put the primed pieces aside and start work on a 3rd piece before going to the next step.
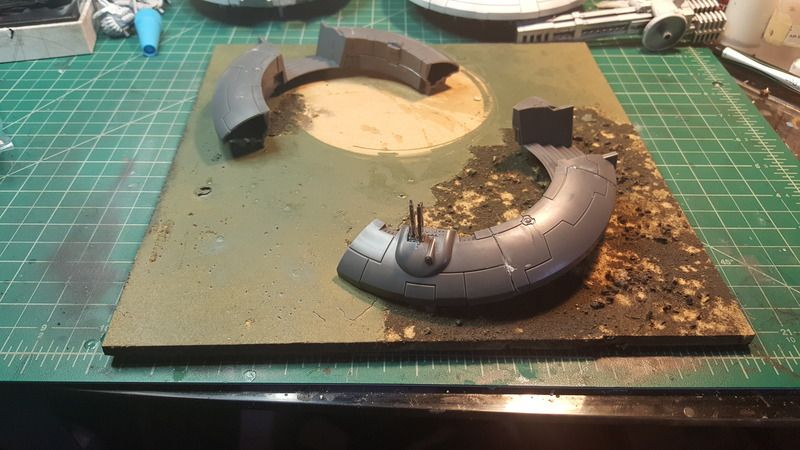
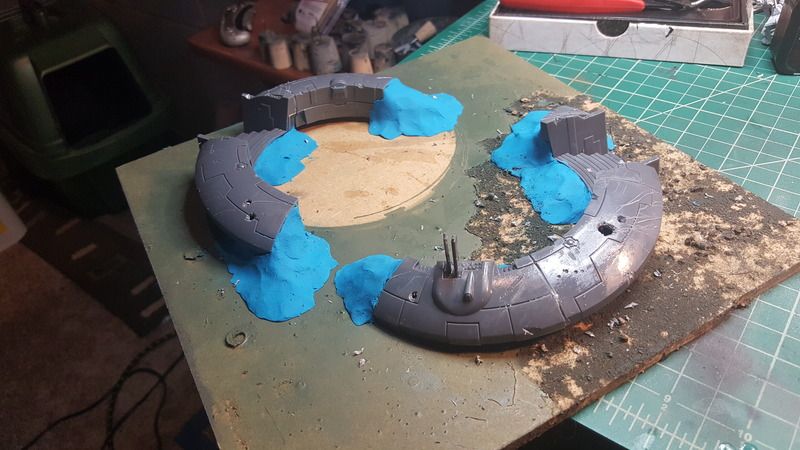
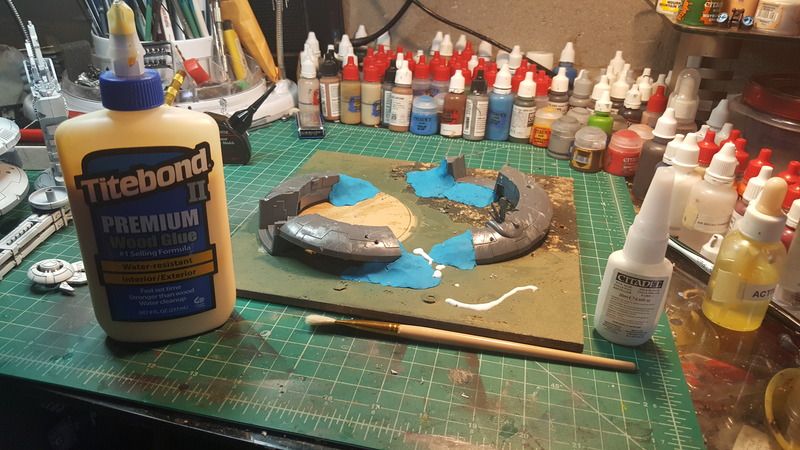
Taking the six extra parts I glued them to a MDF base.

I then used some clay from Hobby lobby is about $2 bucks for a brick of the stuff. The clay was utilized to hid the open gaps and create a more dug in look.
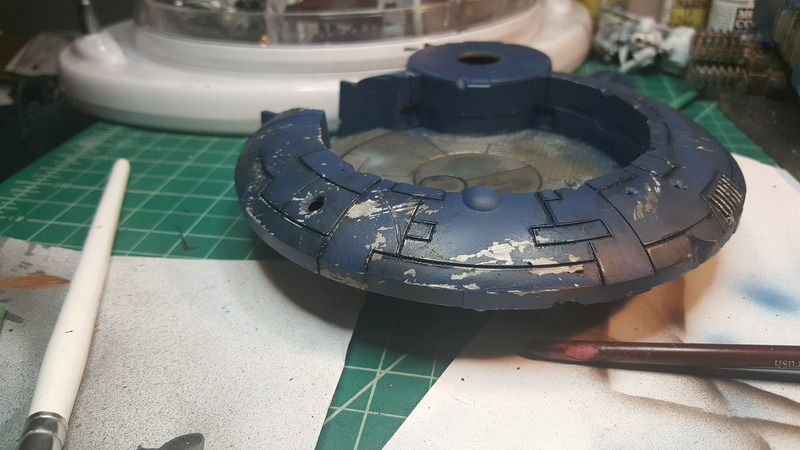
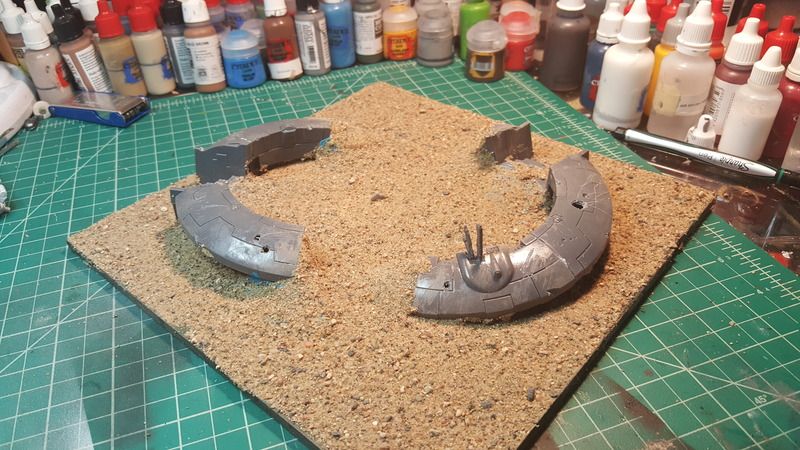
I then started some pre weathering, this is a step prefer to do before priming models but I can be done with primed models too. I ended up going back to the two primed tide walls and pre weathering them as well.
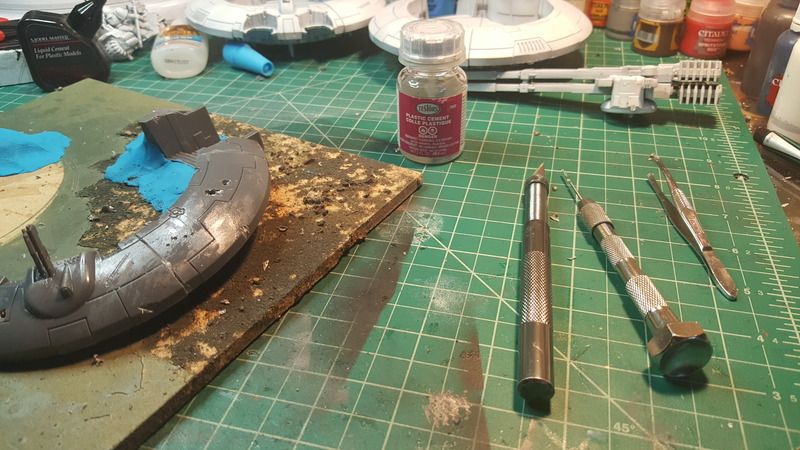
Using a hand drill, hobby knife and some firm tweezers to create several different scratch marks and other battle damage markings.
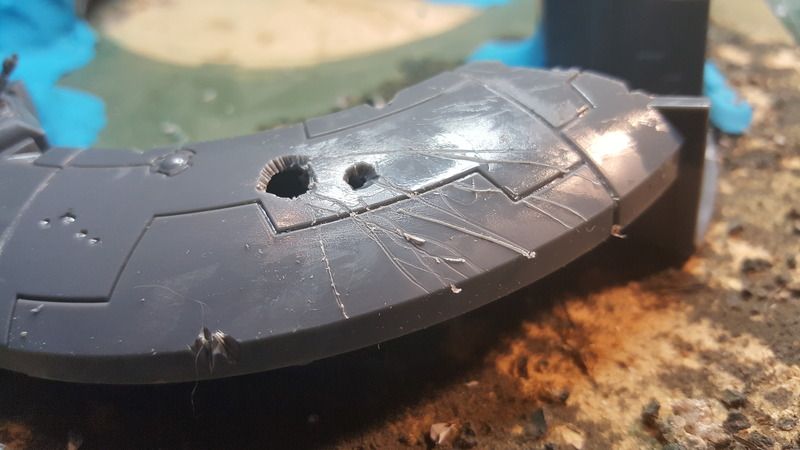
I use Plastic cement after am done applying battle damage, the plastic cement once dry helps make some really nice scratch marks. Simply apply the plastic cement and then take a wire brush to it in areas you want some light but distinctive scratches.

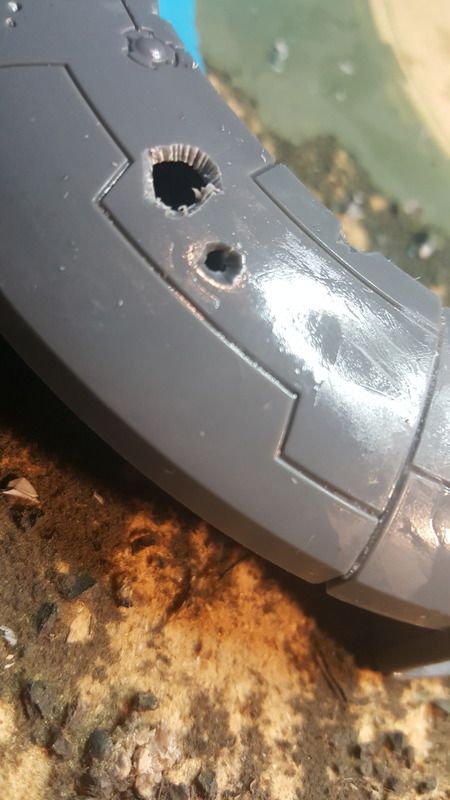
Using a drill I made to deeper looking damage marks. Simply drill and then cut the hole bigger with a hobby knife.
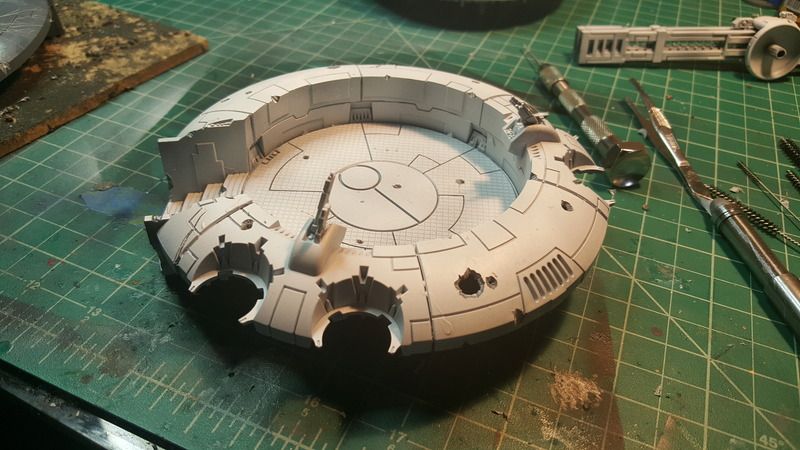
Am quite happy with the battle damage that is applied to these pieces.
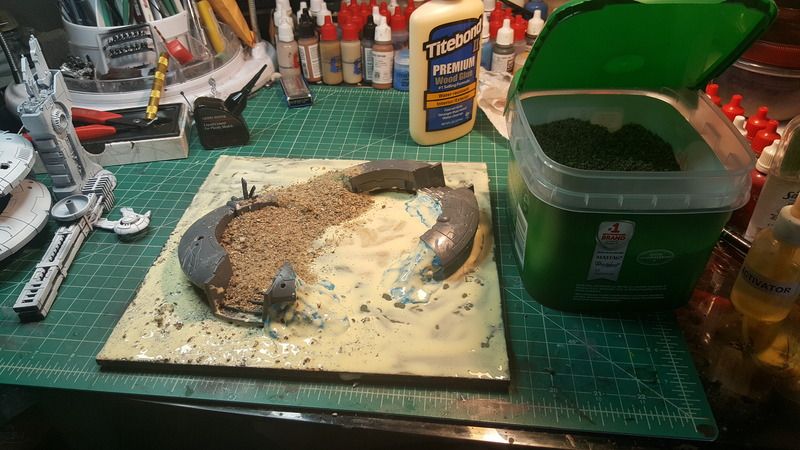
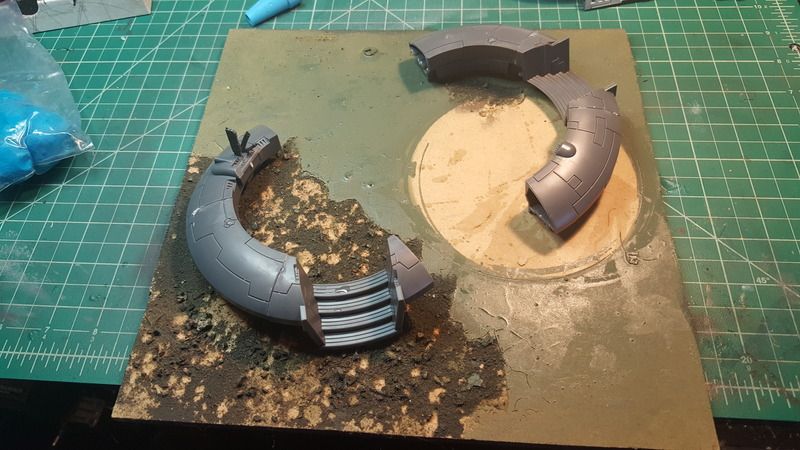
Using wood glue I begin to sand the MDF board
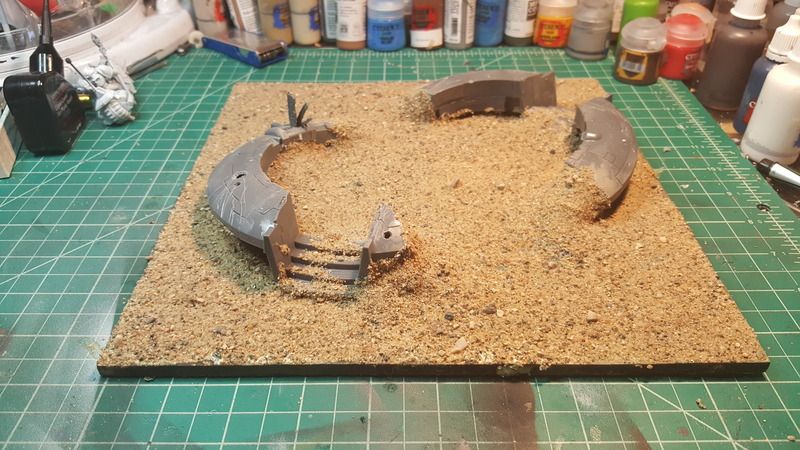
I let the sand dry for a few hours, the wood glue hold alot better then pva glue so I will be able to work with it sooner with minimal risk of wrecking the sand.
Due to the large amount of parts, I was able to get done yesterday will be posting a 3rd update. This one focusing on the metal layers and paint chipping.
Thanks for reading mates.
No comments:
Post a Comment